10 Dec Ironing Table Top Board for quilters & Mini Personal Ironing Board
Ironing Table Top for Quilters
Materials Needed:
- Birch Plywood 3/4 inch thick cut to 32×46
- Hammer
- Nail Gun
- Ruler
- Scissors and/or rotary cutter
- 2 pieces of Felt cut to 38×56
- 2 pieces of cotton batting or wool bump cut to 38×56
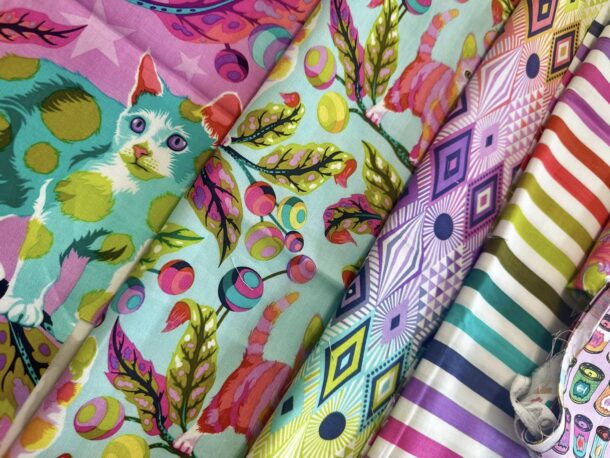
- 1 piece of High Grade Industrial Fabric or Muslin cut to 40 x 56
- 1 set of 4 furniture glides (optional)
Instructions:
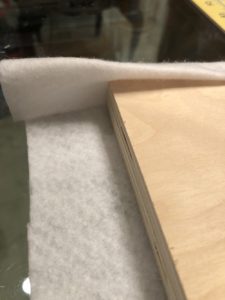
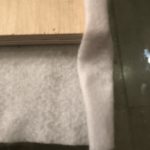
Step 1) Cover with Felt.
Lay one piece of felt on the surface.
Place Ironing Table Top Board in the center of the felt.
Fold the felt around the sides and onto the bottom of the board, turning then edge of the felt under.
Staple from the middle of the board outward towards the ends. Do not staple the ends of the felt yet. Perform this step on the long side of board, then the opposite side of board, pulling tight before stapling to get the felt nice and snug. Repeat this process for the ends of the felt.
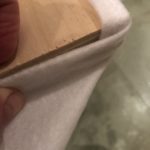
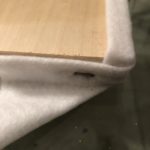
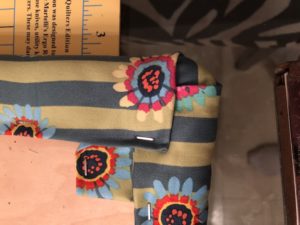
Step 2) Corners
Fold the felt around the corners towards the bottom (currently facing up) and stapling down the long side of the board. See picture as example. This will provide protection on the end of the table top board.
Step 3) Cover with second piece of felt.
Repeat Step 1 with your second piece of felt. Repeat the corner fold of the felt down and over the opposite short side of the board corners (as in Step 2). This completes the protection of the corner from the opposite side.
Step 4) Cover with Batting
Lay both pieces of cotton batting or wool bump on surface.
Place Ironing Table Top Board in the center of the cotton batting, like you did in step 1.
Pull the batting over the felt and staple it into place. Do not fold the ends of the batting before stapling. Leave a 1/2 inch clearance. Staple the long side as you did in step 1, then the opposite side. Repeat process on the ends of the board.
For the corners fold the ends into a miter and staple down going over the center of corner.
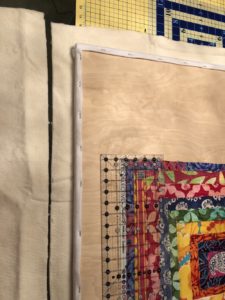
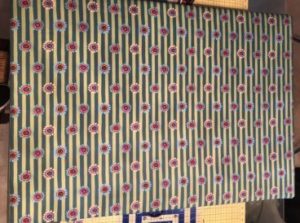
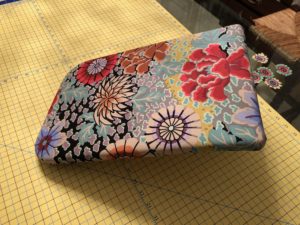
Step 5) Cover with Fabric or Muslin
Lay fabric on surface.
Place Ironing Table Top Board in the center of the fabric.
Pull the fabric up and around sides, folding over the ends of the batting clearance and staple down as in previous steps, sides then ends.
For the corners fold the fabric and staple to the bottom. Clear and cover the batting. See picture and watch video.
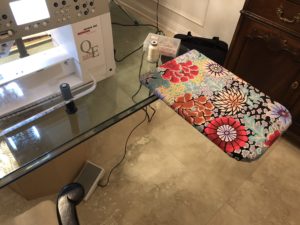
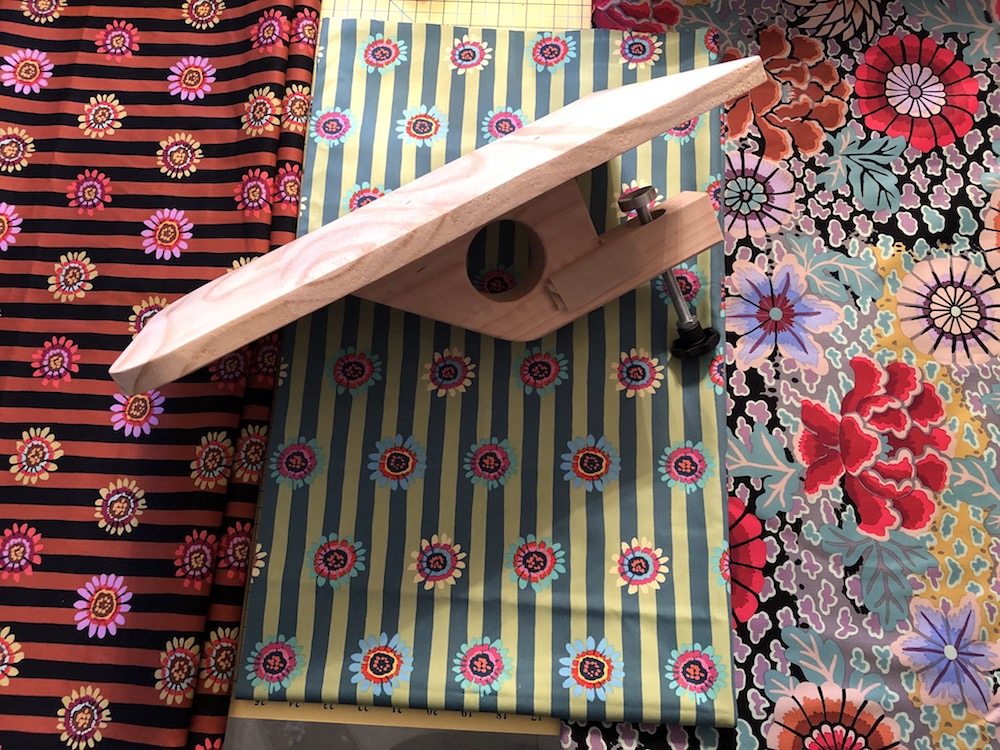
Mini Personal Ironing Board
Materials Needed:
- Mini Board with Clamp
- Hammer
- Nail Gun
- Ruler
- Scissors and/or rotary cutter
- 1 pieces of InsulBright cut to 16×20
- 1 pieces of cotton batting or wool bump cut to 16×20
- 1 piece of High Grade Industrial Fabric or Muslin cut to 16×20
Instructions:
Step 1) Cover with Felt.
Lay one piece of Insul-brite and batting on a flat surface with batting on top.
Place Mini Personal Ironing Board in the center of batting.
Fold the Insul-brite/batting combo around the sides and onto the bottom of the board, turning then edges under.
Staple from the middle of the board outward towards the ends. Do not staple the ends of the Insul-brite yet. Perform this step on the long side of board, then the opposite side of board, pulling tight before stapling to get the felt nice and snug. Repeat this process for the ends of the felt.
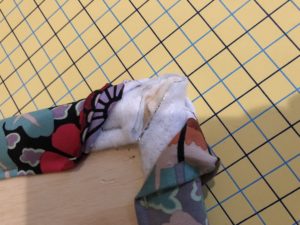
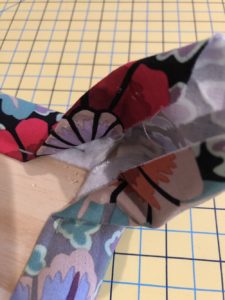
Step 2) Corners.
Fold the felt around the curved top corners and staple down. At the bottom of the board cut off excess but do not fold over bottom as this will create a large bulky area prohibiting the board to lay flat on your table once clamped. See picture as example.
Step 3) Fabric.
Lay fabric on surface.
Place Mini Personal Ironing Board in the center of fabric.
Pull the fabric up and around sides, folding over the ends of the batting clearance and staple down as in previous steps, sides then ends.
For the corners fold the fabric and staple to the bottom. Clear and cover the batting. See picture and watch video.